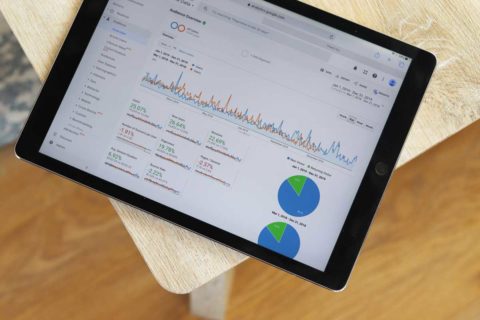
How do you filter out your own visits in Google Analytics?
How often do you visit your own website?
The person that visits your website more often than anyone else is likely to be you.
You’ll need to update it, to add blog posts, to check that all of the information is up to date, that photos are doing you justice and everything works as it should.
Why is this important?
These visits can give you a distorted view of how well your site is performing.
For example, if your site gains 1,000 visits a month and 400 of them are from you or members of staff in your office then the actual figure for traffic of value to your site is 40% less than you believe it to be.
These visits are then impossible to distinguish from others; do you sometimes visit by Googling the company name? Other times by going directly to the site by typing the address in?
If you’re working on a specific page do you repeatedly visit that page? Are you one of those that only visits a single page each time you visit or takes a look around the whole site, leaving it up on your desktop for the entire working day?
All of these actions will be throwing every element of your Google Analytics off; from the bounce rate and average time on site to your most valuable sources of traffic and popular content.
What should you do?
You are able to filter your own visits from your analytics so you are left with just those from actual visitors. It’s important to highlight that Google will only apply filters going forward and not retrospectively. This means that once you filter your own visits from analytics that filter will only apply to the results that Google provides you with from that moment forwards.
How do you filter your own visits from Google Analytics?
- Go to your Google Analytics account (www.google.co.uk/analytics) as you normally would and login
- At the top of your screen you should see the option for ADMIN – you’ll need to click on this link. If you don’t see the word ADMIN at the top of your screen it means that you don’t have the permissions to administrate your account. In this case you’ll need to contact the person that set up your analytics and ask them to increase your permissions.
- You should now see three columns in front of you. In the third column, which is called VIEW, go down to FILTERS and click on it.
- Click on the red button that appears which will let you add a NEW FILTER
- Give the filter a name, for example MY OWN VISITS FILTER
- In the middle drop down box change the “TRAFFIC FROM IP DOMAIN” to “TRAFFIC FROM IP ADDRESSES”
- Put your IP Address in the boxes that appear. Your IP Address is a series of numbers from which you access the internet. If you don’t know it off of the top of your head you can easily find it by going to Google and searching for MY IP ADDRESS. The results will display your IP Address across the top of the screen.
- Place this number into the IP Address boxes in your Google Analytics filter.
- Leave all other settings the same
- Click SAVE
How do you check if it is working?
To be sure that your new filter is working you’ll need to visit your site. At the same time open up your Google Analytics account and click on the REAL TIME analytics display. If it is showing that nobody is on your site then your filter is definitely working.
If you think someone is on there and it isn’t you go back to your site and navigate around five or six different pages. If your real time analytics doesn’t show a glut of new pages being loaded then you’re in luck; not only have you put your first ever Google filter in place but you’ve also got a valued customer on your website!
For more information on how we can help your website perform better and drive more sales to your website please get in touch by calling 01566 784860 or by emailing hello@mihidigital.co.uk
Related Posts
Why you need to update your Google Analytics in the next week
Good old Google Analytics…. It’s something you hopefully know and have come to understand and use to better …

SEO, Social Media & Google Analytics – event with North Devon + on 28th of May 2019
Time: 9:30am – 12:30pm Date: Tuesday 28th May 2019 Venue: Caddsdown Business Support Centre, Caddsdown Industrial Park, Bideford …